The No-Pull Training Toolkit: Harness, Long Line and a Lot of Patience
Short answer: the gear is the easy half — you'll want to budget three to four months of small wins, not a fortnight. I bought the harness, the long line and the headcollar expecting a different dog by month's end, and came away disappointed. What worked was one tool at a time, short sessions, and stopping dead the moment the lead went slack.
People love to sell no-pull training as a product you buy. "Get this harness and your dog stops pulling." I bought into that idea, and for two weeks it was just me, a new bit of gear, and a dog who still pulled. The truth I had to learn the slow way is that the harness is only one tool in a small toolkit, and the most important item isn't sold in any shop. It's patience. Here's the setup that finally worked for my boy Archie, and the method behind it.
The core: a no-pull harness, set up right
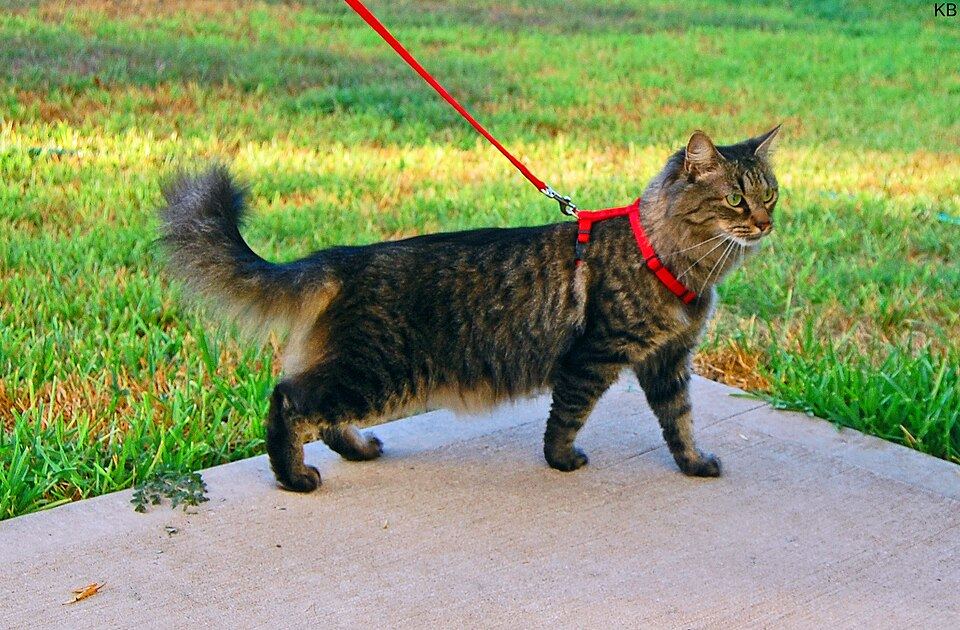
The heart of the kit is a no pull dog harness, but the fit matters more than the brand. I run the straps snug enough that Archie can't back out of it, but loose enough to slide two fingers underneath. The key for us was a front clip no pull harness — lead on the chest ring, not the back. The back clip actually encourages pulling like a sled dog, which is the last thing a puller needs.
I resisted spending real money on the harness at first and bought a fifteen-dollar one that rubbed his armpit raw within a week. The cheap strap also twisted under load, which defeated the front clip entirely and made me think the whole concept was a dud. Spending properly on a padded, well-stitched no pull dog harness was the actual fix, and it paid for itself in vet-free, chafe-free walks within a month.
How to actually use the front clip
Knowing front clip harness how to use is where most people, me included, go wrong at first. You keep the lead shorter than normal and stay light-handed — the moment he pulls, the chest attachment turns him sideways, and you reward the step back toward you. I used to yank, which just excited him. Now I let the harness do the redirect and I mark the calm with a treat. The dog pulling on lead solutions that lasted were always the gentle ones, not the forceful ones.
- Keep the lead shorter than normal and stay light-handed.
- The chest clip turns him sideways the moment he pulls.
- Reward the step back toward you with a treat.
- Let the harness do the redirect and mark the calm.
The long line for real recall work
Once he was calmer on the street, I added a long line training lead — fifteen metres of webbing — for reserve sessions. A dog training lead for recall lets him range out, make choices, and learn that "come" pays better than whatever he's investigating. We started at five metres, then ten, then fifteen, always in a spot with no roads nearby. His recall went from nonsense to reliable over about three months of two short sessions a week.
I kept expectations tiny on purpose. Some sessions Archie wouldn't recall past three metres, and that was okay — pushing for more just taught him to ignore me. The dog training lead for recall is only as good as the dog's mood and focus, so we built distance in centimetres, not leaps, and called it a win when he chose to check in instead of chasing a smell.
Headcollar vs harness — what I kept
I also tried a gentle leader headcollar during his worst phase. The headcollar vs harness for pulling question isn't really a contest; they do different jobs. The harness is everyday wear and keeps pressure off his throat. The headcollar was a temporary steering aid for his most reactive weeks, and I dropped it once the harness and training caught up. For Archie the headcollar was never comfortable for long walks, so I kept it strictly for the hardest ten minutes of a reactive day. If you try a headcollar, ease in slowly with food, because some dogs flat-out refuse it and that's fine.
A lead built for reactive moments
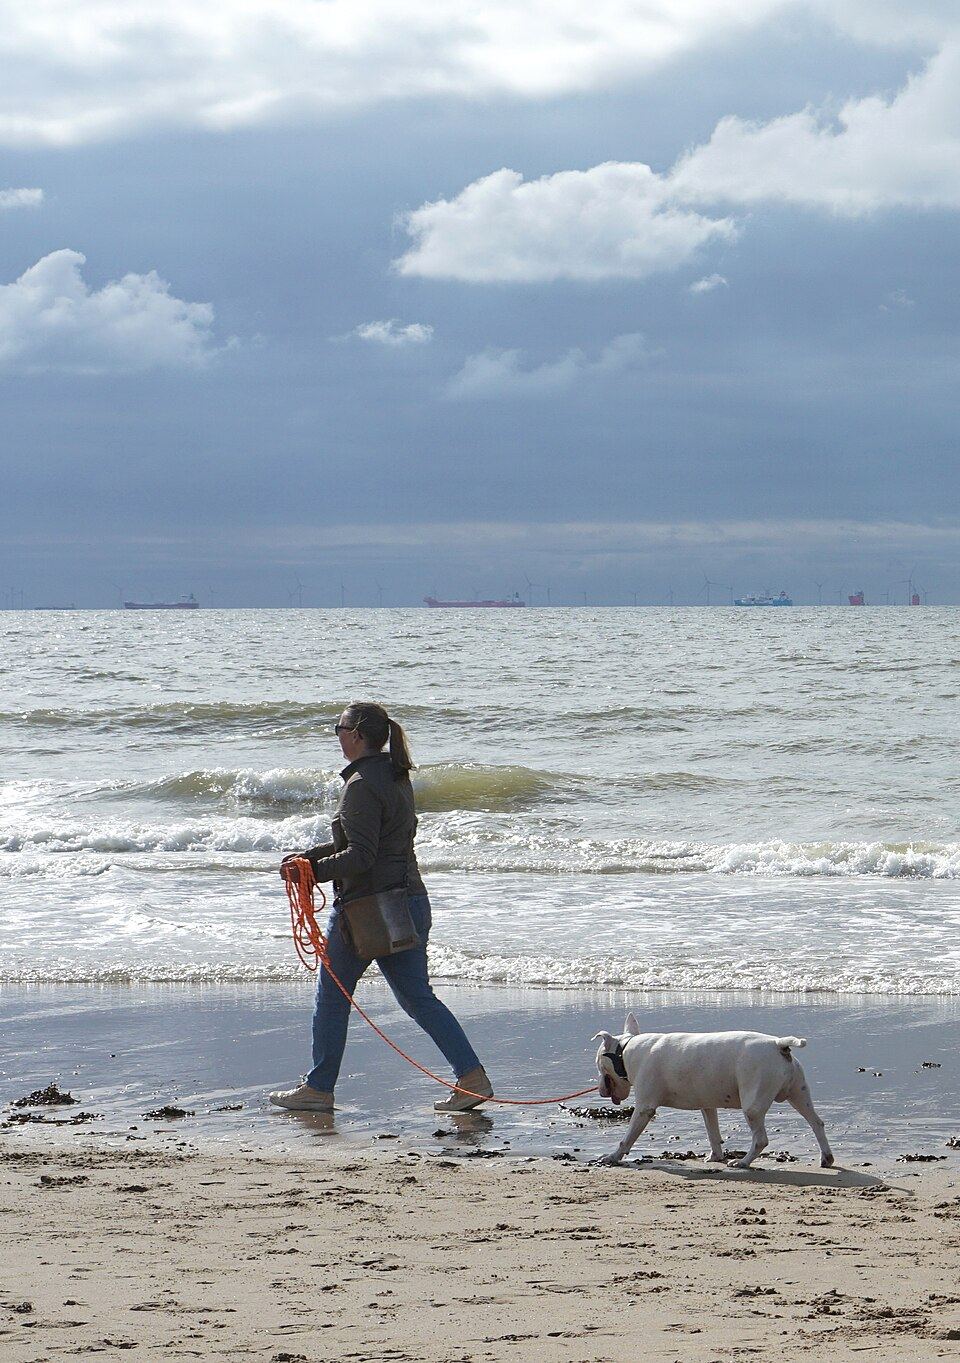
For footpath walks I keep a short, solid dog lead for reactive dogs — no retractable nonsense, just a fixed length I can manage when a trigger appears. Paired with the harness, it lets me create space and cross the road before Archie locks on. The gear doesn't replace awareness, but it buys me the half-second I need to redirect him.
Reactive dog walking tips that earned their keep
A few reactive dog walking tips Australia owners gave me were worth more than any product. Walk at quiet hours. Reward the look-away, not just the sit. Manage the environment before you correct the behaviour. And be honest on the bad days — some walks are just damage control, and that's still progress. The toolkit helps, but the steady repetition is what changes a dog.
The patience part nobody sells
Here's the honest timeline, because the before-and-after posts left me feeling like I was failing. Week one actually felt worse, because Archie tested the new gear and pushed against it. Weeks two to four were flat — no obvious progress, just fewer choke-coughs — and then he'd give me one calm walk out of nowhere. By month three the dragging was rare, and by month four it was the exception rather than the rule. The front clip harness how to use became muscle memory for both of us, and so did my habit of rewarding the check-in the instant it happened. There's no shortcut; the toolkit just makes the slow road bearable instead of miserable.
My sign-off
If you take the toolkit home and expect a different dog in a fortnight, you'll be disappointed — I was. The realistic timeline for us was closer to three or four months of small wins before walks felt easy, and we still have off days. But the harness, the long line, and the patience compound. Start with the front-clip setup, add the long line when you're both ready, and give the headcollar a fair trial only if you need it. Mostly, just keep showing up. The dog at the end of your lead is learning, and so are you.
— Still training Archie, and finally okay with the slow road.
Frequently Asked Questions
What is the most important part of a no-pull setup?
A well-fitted front-clip harness. Run the straps snug enough that your dog can't back out but loose enough for two fingers underneath, and clip the lead to the chest ring — not the back, which encourages sled-dog pulling.
How do I use the front clip correctly?
Keep the lead shorter than normal and stay light-handed. When your dog pulls, the chest attachment turns him sideways, and you mark the calm with a treat. Gentle redirection beats yanking every time.
Do I need a headcollar as well as a harness?
Only if your dog's reactive phase is severe. The harness is everyday gear; a headcollar is a temporary steer for the hardest weeks. Ease in slowly with food, because some dogs simply refuse a headcollar and that's fine.
How long should long-line recall sessions be?
Short and successful. Start at five metres and build distance in centimetres, not leaps, over a couple of months. Two brief sessions a week beat one long, frustrating one where the dog switches off.
What is a realistic timeline for loose-lead walking?
Expect three to four months of small wins. Week one can feel worse, weeks two to four are flat, then calm walks become the rule. The toolkit makes the slow road bearable, but there is no shortcut.
Lead & Harness Size Reference
| Lead length | Webbing width | Best use |
|---|---|---|
| 1.2 m | 1.5–2.5 cm | Everyday suburban walks, most dogs |
| 2 m | 1.5 cm | Lead training and recall work |
| 3–5 m (long line) | 1.5–2 cm | Beach, park, off-lead practice |
| Adjustable 1.5–3 m | 2.5 cm padded | City plus reserve, changing needs |
Webbing width by dog size: under 10 kg → 1.5 cm, 10–25 kg → 2 cm, over 25 kg → 2.5 cm.
Looking for dog leads & walking gear?
We stock the gear covered in this guide, with Australia-wide shipping and Afterpay at checkout.
Popular in this range: mesh harness & lead set · hands-free running leash
Shop Leads & Walking at Paws of Oz